8月 302013
これを大改修した。
→ ArduinoとRubyで赤外線リモコン作ってWebから操作できるようにした
特徴は以下のとおり
- Arduinoに約110円分の電子部品を追加すれば赤外線学習リモコンが作れる
- 市販の学習リモコンが対応していないような長大なデータでも読み書きできる
- 学習リモコン機能を自作アプリに組み込めるRubyライブラリ付き
最近は多少涼しくなった気もするけど、いまだに夕方の閉めきった部屋の中は40度近くまで上昇していて危ない。このツールで家に帰る前に冷房をonにしておくと助かる。
gitリポジトリはここ https://github.com/shokai/arduino_ir_remote
機能追加・変更された事
- rubygemにした。赤外線学習リモコンをライブラリとして自作アプリに組み込める。
- 学習した赤外線データを別々のアプリ間で共有できるように、データを管理する機構もgemに含めた。
- 6つのアナログピンの数値をRubyで読めるようにした。温度センサなどを追加できる。
- CUIから赤外線リモコンを使えるコマンド “arduino_ir_remote” もgemに同梱した。ssh接続可能なmac/linuxサーバーにArduinoを接続し、このrubygemをインストールするだけでリモートから赤外線機器をコントロールできる。
- webブラウザから赤外線リモコンを操作できるアプリは別のgitリポジトリに移動した。READMEに書いてある通りに起動すれば動くしサービスとして常駐させられる。
回路
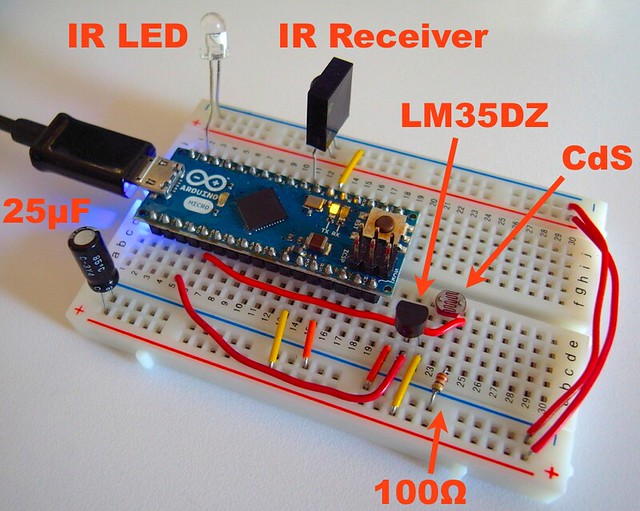
たったこれだけの回路で作れる。デジタル12ピンに赤外線LED、デジタル3ピンに赤外線リモコン受光器を接続。
このfirmwareをArduinoに書き込む。

インストール
gem install arduino_ir_remotearduino_ir_remoteコマンドもインストールされる。
which arduino_ir_remote
赤外線の読み書き
まずarduino_ir_remoteコマンドを使う例。 -helpで使い方が表示される
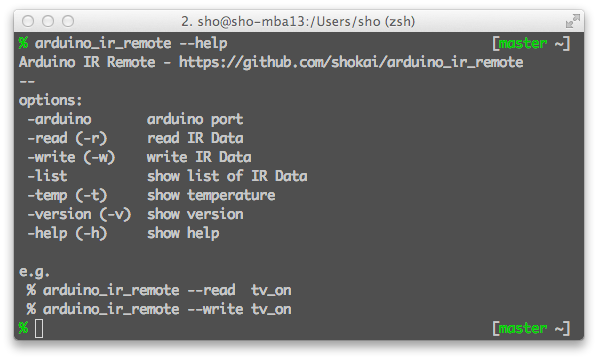
読む
arduino_ir_remote -read 名前で赤外線を読む。
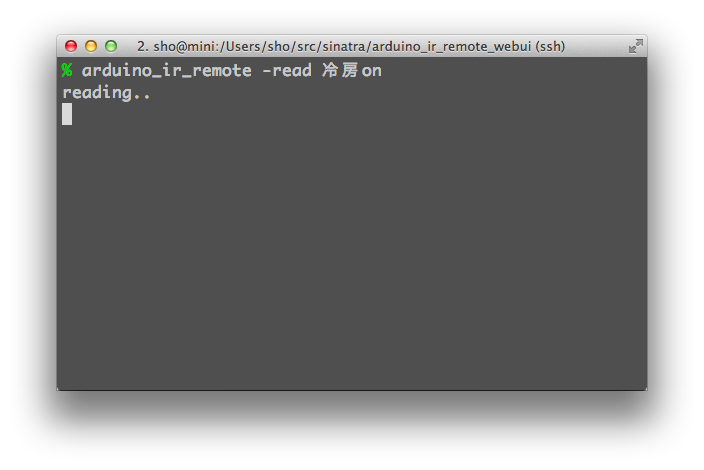
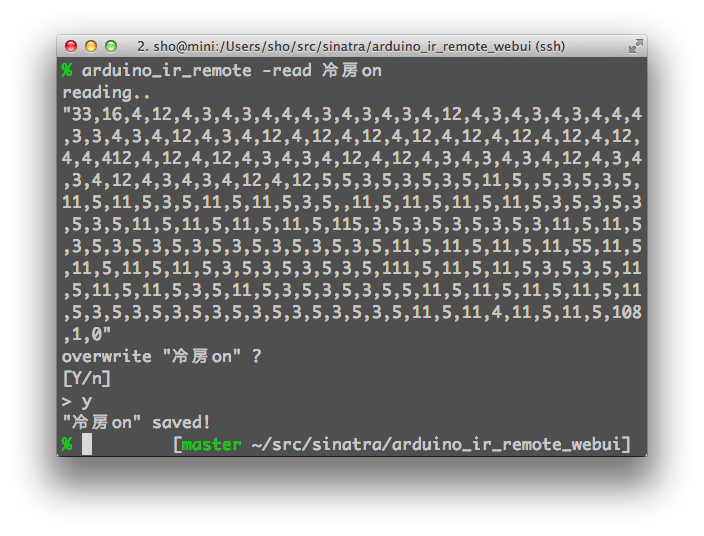
reading…と表示されてから1.5秒以内に赤外線リモコンを当てると、デコードされて表示される。
データは ~/.ir_remote.yml にyaml形式で保存されている。
部屋の蛍光灯が赤外線リモコンと同じ波長・周波数をだして邪魔になる事があるので、調子が悪い時は電気を消してから学習させてください。
書く
arduino_ir_remote -write 名前で発射する。
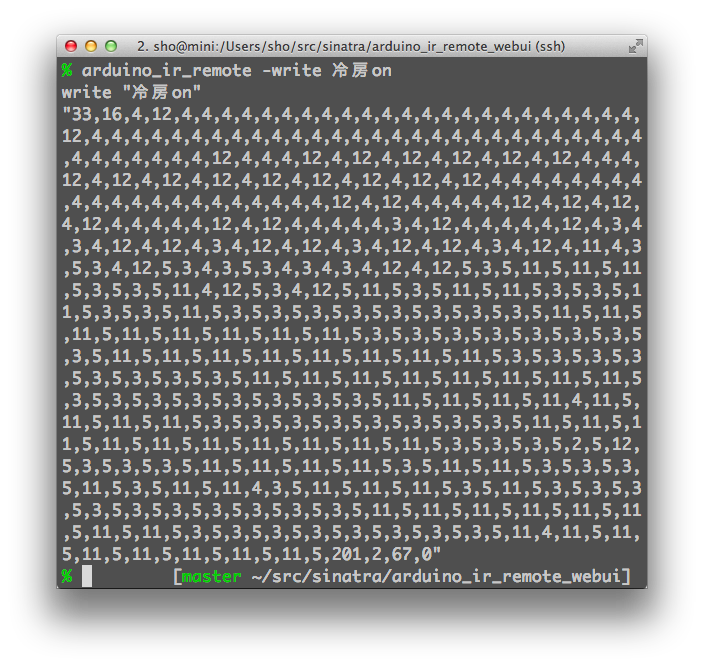
とりあえずCUIから赤外線が読み書きできる。
このコマンドはサーバーに赤外線リモコンを付けている場合に便利。
sshはコマンドを渡せるので、
ssh shokai@サーバー名 arduino_ir_remote -write エアコンONとかでリモートからエアコンつけられる。
一覧
arduino_ir_remote -listで保存した全データが確認できる。
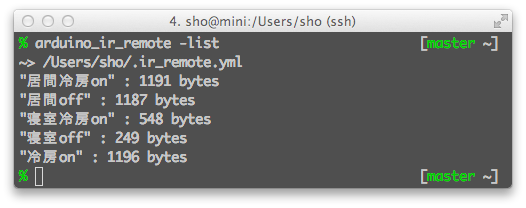
赤外線の読み書き(アプリから)
READMEにも書いたが、ライブラリとして使用して自作Rubyアプリにも組み込める。読む
接続時にデバイス名は指定しなくても自動的にArduinoらしきデバイスを探す。require 'rubygems'コールバックでデータを読んで、Hashとして扱えるArduinoIrRemote::DATAにデータを保存できる。
require 'arduino_ir_remote'
ir = ArduinoIrRemote.connect # use default device
## ir = ArduinoIrRemote.connect "/dev/tty.usb-devicename"
ir.read do |data|
p data
ArduinoIrRemote::DATA["tv_on"] = data
ArduinoIrRemote::DATA.save # ~/.ir_remote.yml に保存される
end
ir.wait
書く
これでテレビの電源がつく。ir.write ArduinoIrRemote::DATA["tv_on"]
ir.wait
読むのはarduino_ir_remoteコマンドでやっちゃって、書くところだけ自作アプリで作ったUIからやるとかでいいと思う。
外部センサーの追加
Arduinoなので赤外線リモコン専用というわけではなく、センサーを追加できる。うちではこんな風になっている。
Analog 0にLM35DZ温度センサ、Analog 1にCdS照度センサを接続した。
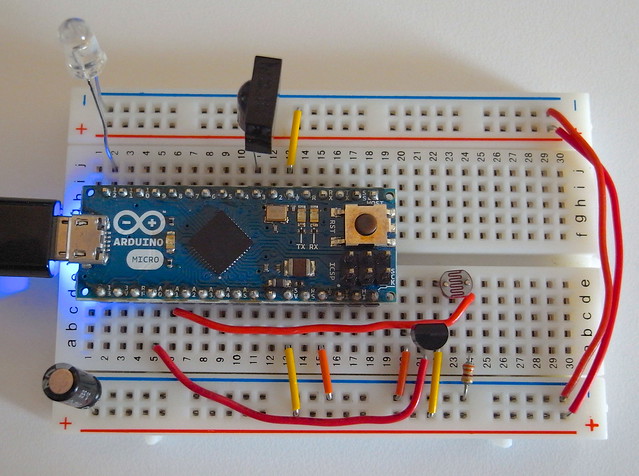
上から見た図
外部センサーを読む
Ruby側でanalog_readできる。値は300ミリ秒毎にArduinoから送られてきている。require 'rubygems'部屋の明るさだけでなく、テレビに近づければ電源がついているかも判別できると思う。
require 'arduino_ir_remote'
ir = ArduinoIrRemote.connect # use default device
loop do
puts ir.analog_read 0 # アナログ0ピンを読む
puts ir.analog_read 1
end
温度センサLM35DZを読む
LM35DZは安くて定番なんだけど数値を摂氏に変換する手間がある。ライブラリ内でやっておいた。
ir.temp_pin = 0 # set temperature sensor pinこれで温度がチェックできる。室温が40度とかになっててエアコンつけざるをえない事がわかる。
loop do
puts ir.temp_sensor
end
温度はコマンドからも見れる。
手元から自宅の温度が1行で取得できて便利。エアコン切って1時間ぐらいで37度になるとかヤバイ

サンプルアプリ
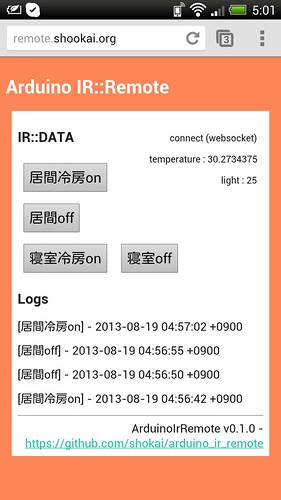
webから赤外線リモコンを操作できるインタフェースを作った。トータルで100行ぐらいで実装されているので見るといいと思う。もちろんgit cloneすれば手元ですぐ動かせる。
https://github.com/shokai/arduino_ir_remote_webui
